Do you crave the delightful combination of sweetness and crunch? Look no further than this mouthwatering blog - Deliciously Crunchy Peanut Brittle: A Step-by-Step Microwave Recipe. Get ready to tantalize your taste buds with the irresistible charm of homemade peanut brittle, all made conveniently in your microwave.

Are you tired of complicated recipes or the hassle of stovetop cooking? This blog will be your savior, providing a simple and straightforward approach to creating perfectly crisp and caramelized microwave peanut brittle. No more guessing or intricacies - just seven easy steps to achieve a delectable treat that will leave you wanting more.
From the basics of ingredient selection to the technique of achieving the perfect texture, we'll cover it all. Learn the secrets to making your peanut brittle spread evenly, achieve the ideal crunch, and develop that signature caramel-like flavor.
Whether you're a seasoned chef or a novice in the kitchen, this blog is your go-to guide for creating a delightful homemade snack or a thoughtful gift. Get ready to impress with your newfound expertise in the art of microwave peanut brittle.
Microwave peanut brittle offers a quick and convenient way to indulge in the delicious crunch and caramelized flavor of this classic treat. With just a few simple ingredients and easy preparation, you can create homemade peanut brittle without the need for a stovetop or candy thermometer.
The appeal of microwave peanut brittle lies in its simplicity and time-saving method. By using the microwave, you can significantly reduce the cooking time compared to traditional stovetop methods. This makes it ideal for those who crave the delectable taste of peanut brittle but don't have hours to spare.
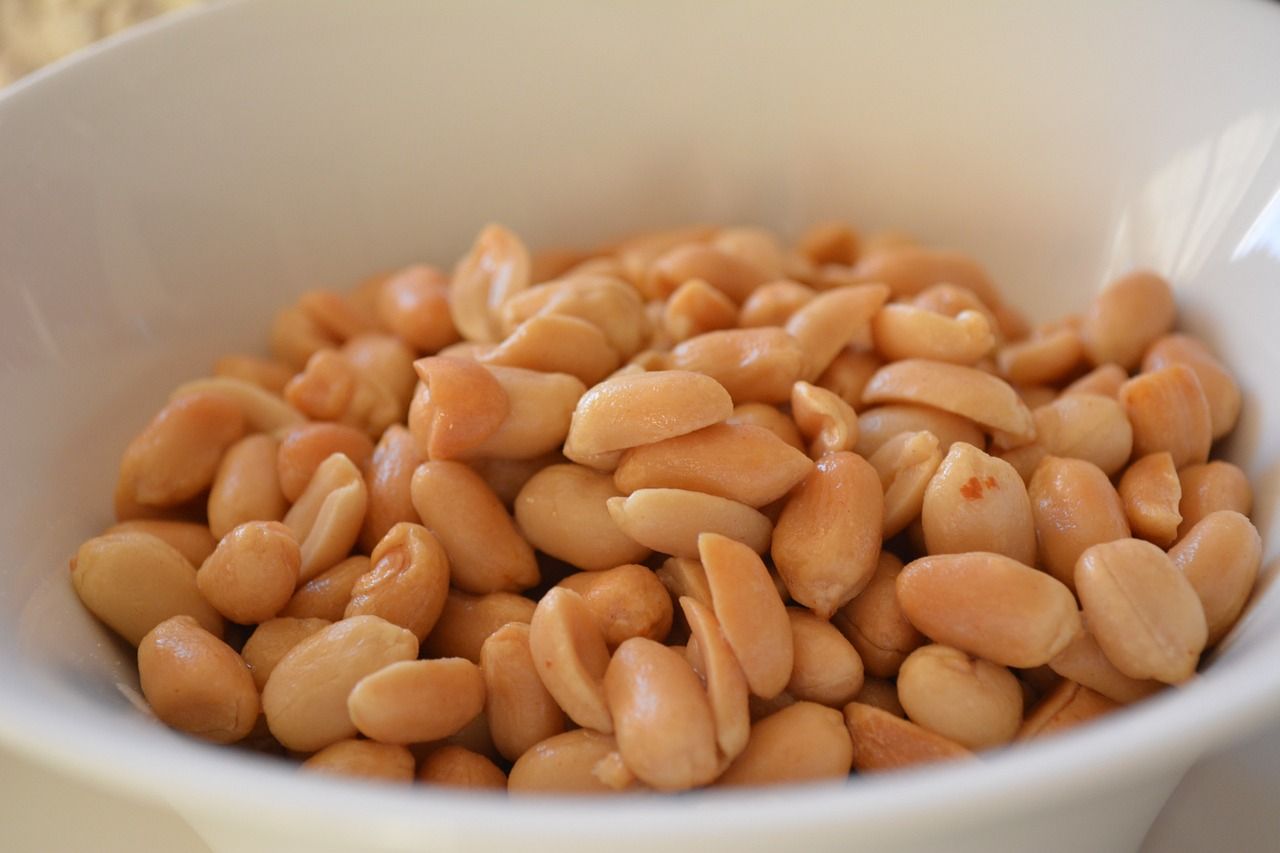
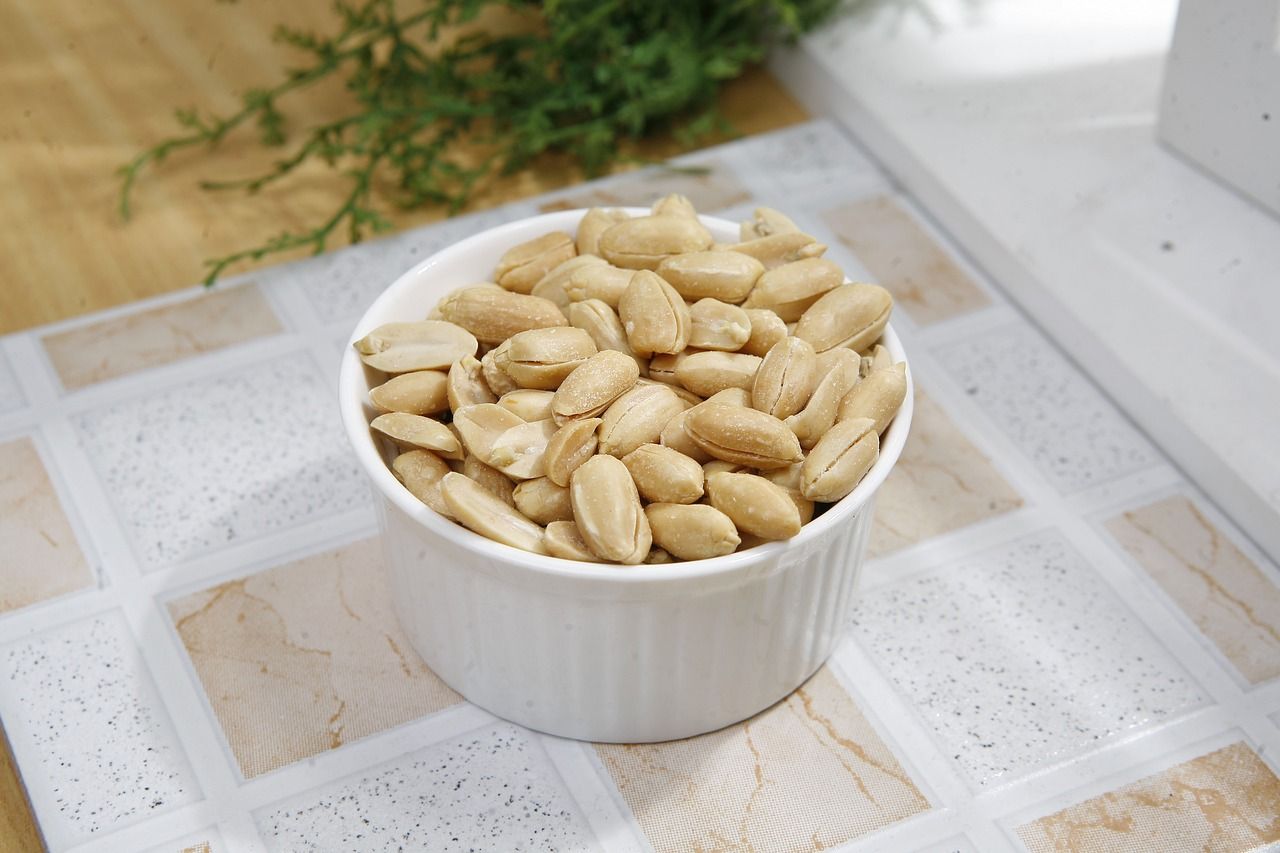
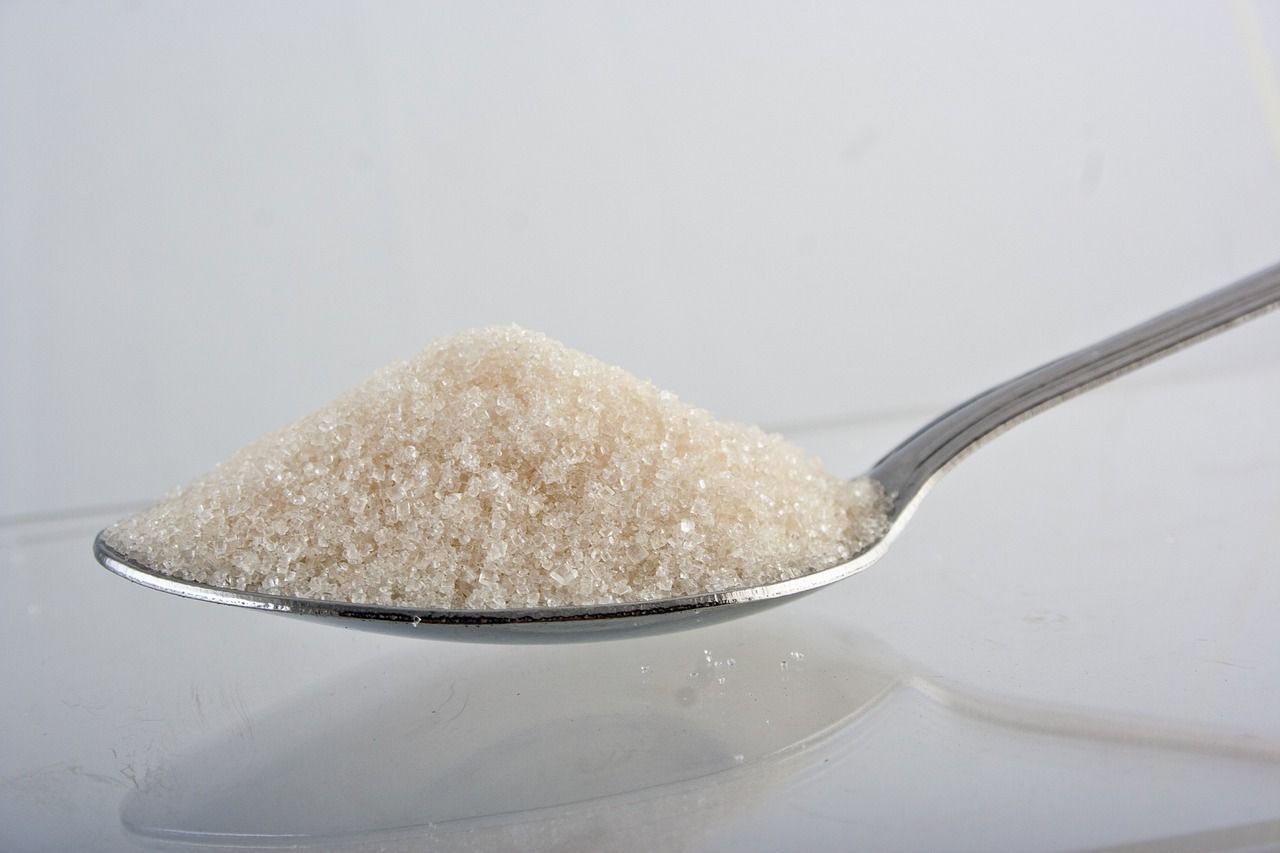
To make microwave peanut brittle, you'll need basic ingredients such as raw peanuts, sugar, corn syrup, and baking soda. The process involves melting the sugar mixture in the microwave, stirring in the peanuts and baking soda, and spreading the mixture onto a prepared baking sheet to cool and harden.

The result is a batch of perfectly crunchy peanut brittle with a caramel-like flavor that will satisfy your sweet tooth. Whether you're looking for a quick and satisfying snack or a homemade gift option, microwave peanut brittle is a delightful treat that can be enjoyed by all.
So let's dive into the tips and techniques that will help you create the perfect crunch in your microwave peanut brittle.
When making microwave peanut brittle, achieving that perfect balance between a satisfying crunch and a delightful caramelized flavor is key. Follow these expert tips and tricks to ensure your brittle turns out irresistibly crunchy every time:
Microwaves vary in their power levels, so it's important to keep a close eye on the cooking process. Start with shorter intervals, around 2-3 minutes, stirring in between, and gradually increase the cooking time if needed. This will help prevent overcooking and ensure that your brittle maintains its crunchiness.
Stirring the mixture helps distribute the heat evenly and promotes an even caramelization. However, be gentle when stirring to avoid introducing unnecessary air bubbles that can result in a brittle with a chewier texture. Use a silicone spatula or wooden spoon for optimal results.
While the classic peanut brittle recipe is delightful, feel free to experiment with other nuts or mix-ins for added variety. Try substituting peanuts with almonds, cashews, or even a combination of your favorite nuts. You can also enhance the flavor by adding a sprinkle of sea salt or drizzling melted chocolate over the cooled brittle.
Choose a large microwave-safe bowl that provides ample space for the mixture to expand without overflowing. A glass bowl is ideal as it helps to distribute the heat more evenly throughout the mixture.
Excess moisture, such as oil or water from the peanuts, can result in a less crunchy brittle. Make sure to use raw, unsalted peanuts and avoid any added oils. Pat dry the peanuts before incorporating them into the mixture to minimize the presence of excess moisture.
Timing plays a crucial role in achieving the perfect crunch. Aim for a light golden brown color throughout the brittle, as this indicates that it has reached the desired level of caramelization. Avoid undercooking, as it can result in a sticky and too soft texture, while overcooking may lead to a burnt flavor.
Keep these tips in mind while preparing your microwave peanut brittle, and you'll be rewarded with a perfectly crunchy and delicious treat every time. Enjoy the simplicity and ease of this microwave recipe, and savor the delightful caramelized flavor that makes homemade peanut brittle so irresistible.
To make delicious microwave peanut brittle, you'll need the following ingredients:
1. 1 cup of raw peanuts
2. 1 cup of granulated sugar
3. 1/2 cup of light corn syrup
4. 1/8 teaspoon of salt
5. 1 tablespoon of unsalted butter
6. 1 teaspoon of vanilla extract
7. 1 teaspoon of baking soda

These ingredients will ensure that your peanut brittle turns out perfectly crisp and caramelized. Make sure to gather them all before starting the recipe.
Peanut brittle is a classic treat that is loved by many. It combines the sweetness of caramelized sugar with the crunchiness of roasted peanuts. With just a few simple ingredients, you can create this delightful snack in your own microwave. The best part is that it requires no fancy equipment or hours of cooking time.
Next, let's move on to the step-by-step instructions for making microwave peanut brittle.
Making microwave peanut brittle is a straightforward process that allows you to satisfy your sweet tooth without the hassle of using a stovetop. Follow these simple steps to create your own deliciously crunchy homemade treat:
Step 1: Prepare Your Ingredients
Gather the following ingredients for your microwave peanut brittle recipe:
- 1 cup of raw peanuts
- 1 cup of granulated sugar
- 1/2 cup of light corn syrup
- 1/8 teaspoon of salt
- 1 tablespoon of unsalted butter
- 1 teaspoon of vanilla extract
- 1 teaspoon of baking soda

Step 2: Line a Baking Sheet
Line a baking sheet with parchment paper and set it aside. This will prevent the peanut brittle from sticking and make it easier to remove later.
Step 3: Combine Sugar, Corn Syrup, Salt, and Butter
In a large microwave-safe bowl, combine the granulated sugar, light corn syrup, salt, and unsalted butter. Stir the mixture until the butter is incorporated.
Step 4: Microwave the Mixture
Place the bowl in the microwave and heat it on high power for 4 minutes. Carefully remove the bowl from the microwave (using oven mitts, as it will be hot) and give the mixture a good stir.
Step 5: Microwave for Additional Time
Return the bowl to the microwave and heat it on high power for another 4 minutes. Keep a close eye on the mixture as it heats to ensure it doesn't overflow.
Step 6: Add Vanilla and Baking Soda
Remove the bowl from the microwave and add the vanilla extract and baking soda to the hot mixture. Stir quickly and vigorously until the mixture becomes light and foamy.
Step 7: Spread and Cool
Quickly pour the hot peanut brittle mixture onto the prepared baking sheet. Use a silicone spatula to spread it evenly to your desired thickness.
Allow the peanut brittle to cool completely, which typically takes about 1 hour. Once it has hardened, you can break it into pieces and enjoy the crispy, caramelized goodness of your homemade microwave peanut brittle!
Remember, practice makes perfect when it comes to achieving the ideal texture and taste for your microwave peanut brittle. Don't hesitate to experiment with different variations, such as adding chocolate or spices, to create your own signature twist on this classic treat.
Now you have a simple and convenient method to satisfy your peanut brittle cravings anytime. Enjoy this delightful snack or share it as a homemade gift option for your loved ones!
Can I use salted peanuts for this recipe?
Yes, you can use salted peanuts for this microwave peanut brittle recipe. However, keep in mind that the final result may have a slightly saltier taste compared to using unsalted peanuts. If you prefer a balance of sweet and salty flavors, salted peanuts can be a great choice. Just be mindful of the salt content in the peanuts and adjust the added salt accordingly.
Can I double the recipe to make a larger batch?
Yes, you can double the recipe to make a larger batch of microwave peanut brittle. However, it's important to consider the capacity and power of your microwave. Cooking times may vary when increasing the quantity of ingredients. To ensure even cooking, it is recommended to divide the mixture into smaller batches and cook them one at a time. This will help maintain the desired consistency and avoid unevenly cooked brittle.
Can I add other flavors or mix-ins to the peanut brittle?
Absolutely! Adding additional flavors or mix-ins can elevate the taste of your microwave peanut brittle. You can experiment with adding ingredients like chocolate chips, crushed pretzels, or dried fruit for a delightful twist. Ensure that any added ingredients are heat-resistant and won't melt or burn during the cooking process. Be creative and have fun customizing your peanut brittle to suit your taste preferences.
How do I prevent my microwave peanut brittle from sticking to the baking sheet?
To prevent your microwave peanut brittle from sticking to the baking sheet, you can line it with parchment paper or a silicone baking mat. This will create a non-stick surface and make it easier to remove the brittle once it has cooled and hardened. Additionally, lightly greasing the baking sheet with cooking spray or butter can also help prevent sticking. Make sure to spread the brittle mixture evenly on the prepared baking surface to ensure even cooking and easy removal.
Take your microwave peanut brittle to the next level by experimenting with different variations and customizations. Here are some ideas to add unique flavors and textures to this classic treat:
1. Nutty Delights
Instead of using peanuts, try substituting them with other nuts like almonds, cashews, pecans, or walnuts. You can use a single nut or mix them up for a delightful combination.
2. Flavorful Additions
Add a touch of sweetness by incorporating chocolate into the recipe. You can drizzle melted chocolate over the cooled peanut brittle or mix in some chocolate chips before spreading the mixture on the baking sheet.
For a spicy twist, consider sprinkling cayenne pepper or chili powder over the peanut brittle before it sets. This adds a kick of heat that complements the sweet and crunchy profile.
3. Inspired Combinations
Combine different flavors to create unique combinations. Consider adding a sprinkle of sea salt for a savory-sweet contrast or mixing in dried fruits like cranberries, raisins, or chopped apricots for an added burst of tangy sweetness.
4. Festive Flavors
Embrace the holiday season by incorporating seasonal spices like cinnamon, nutmeg, or ginger. These warm spices add a comforting and festive touch to the peanut brittle.
Get creative with the overall look of your peanut brittle by adding food coloring. Use green and red for Christmas-themed brittle or pastel colors for Easter celebrations.
Remember to adjust the quantities of the additional ingredients according to your taste preferences and desired consistency. Enjoy exploring these variations and customizations to personalize your microwave peanut brittle and create a truly delightful treat.
Indulging in holiday treats is one of the joys of the festive season. Alongside the delicious microwave peanut brittle, here are a few more delightful treats that you can make to satisfy your sweet tooth and spread joy to those around you:
1. Homemade Hot Chocolate Mix
Warm up those chilly winter evenings with a comforting and decadent cup of homemade hot chocolate. Create your own hot chocolate mix by combining cocoa powder, powdered sugar, and a pinch of salt. Package it in a festive jar and attach a mini whisk for a charming gift idea.
2. Gingerbread Cookies
Channel your inner baker and create delightful gingerbread cookies with intricate designs. Roll out the dough, cut it into festive shapes, and decorate them with royal icing and colorful sprinkles. These aromatic and spicy cookies are perfect for sharing with family and friends.
3. Peppermint Bark
Capture the refreshing flavors of peppermint in a delicious and visually appealing treat. Simply melt dark or white chocolate and spread it over a parchment-lined baking sheet. Sprinkle crushed candy canes on top and let it set. Break the bark into pieces for a delightful, minty snack.
4. Festive Sugar Cookies
Let your creativity shine with decorated sugar cookies that celebrate the holiday spirit. Whip up a batch of buttery sugar cookie dough, cut it into festive shapes, and decorate them with colorful icing, edible glitter, and sprinkles. These cookies are not only delicious but also make charming gifts.
5. Cranberry Bliss Bars
Add a burst of tangy sweetness to your holiday table with homemade cranberry bliss bars. These moist and chewy bars are loaded with white chocolate chips and dried cranberries, creating a delightful flavor combination. Drizzle them with a cream cheese frosting for an extra touch of indulgence.
Remember, these additional holiday treats perfectly complement the irresistibly crunchy microwave peanut brittle. Share these homemade goodies with loved ones or bring them to a holiday gathering to spread warmth and cheer. Enjoy the festive season with these delectable delights!
Read More:
The Best Countertop Microwave Oven In 2024 - A Comprehensive Review
The Best Small Countertop Microwave For Compact Kitchens
The Best Small Microwave Of 2024, High Performance
10 Best Compact Microwave For Your Kitchen
The Best Over Range Microwave Exhaust Fan, Powerful & Silent
In conclusion, microwave peanut brittle offers a simple and convenient way to enjoy the delicious crunch and caramelized flavor of this classic treat. With just a few steps, you can create homemade peanut brittle that rivals the stovetop version. The appeal of this recipe lies in its ease of preparation and the ability to achieve a perfectly crisp texture without the need for a candy thermometer or extensive cooking time.
By following the step-by-step instructions and incorporating the provided tips and tricks, you can ensure the success of your microwave peanut brittle every time. Whether you're a first-time candy maker or a seasoned pro, this recipe is sure to deliver delightful results.
Remember to store your peanut brittle properly to maintain its freshness and crunch. It can be presented beautifully in festive packaging and makes for a great homemade gift option during the holiday season. Don't forget to try out the suggested variations and customizations, such as using different nuts or adding flavors like chocolate or spices, to personalize your peanut brittle and explore new delicious combinations.
With its simplicity and deliciousness, microwave peanut brittle is a fantastic treat that can be enjoyed by all. Give it a try and experience the joy of creating your own homemade crunchy delights in no time. Happy snacking!